|
It only takes a few steps into stores now to know what time of year it is…. The beginning of a new year. A fresh start. A time to organize. Bins of all sizes and materials are on sale. Organizing products are on every end cap. So, you’ve hit the sales and have all the bins – different sizes and colors – and they’re all sitting in the family room, just waiting to be used. So…. Now what? Well, you could always call us…. We’re here to help and would love to have the opportunity to incorporate your fabulous new organizing products into functional systems that help you get organized and stay that way! Let us do the work for you and then you can sit back and enjoy your newly organized space.
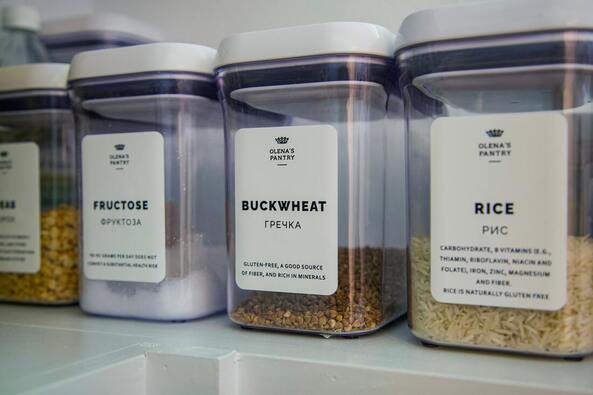
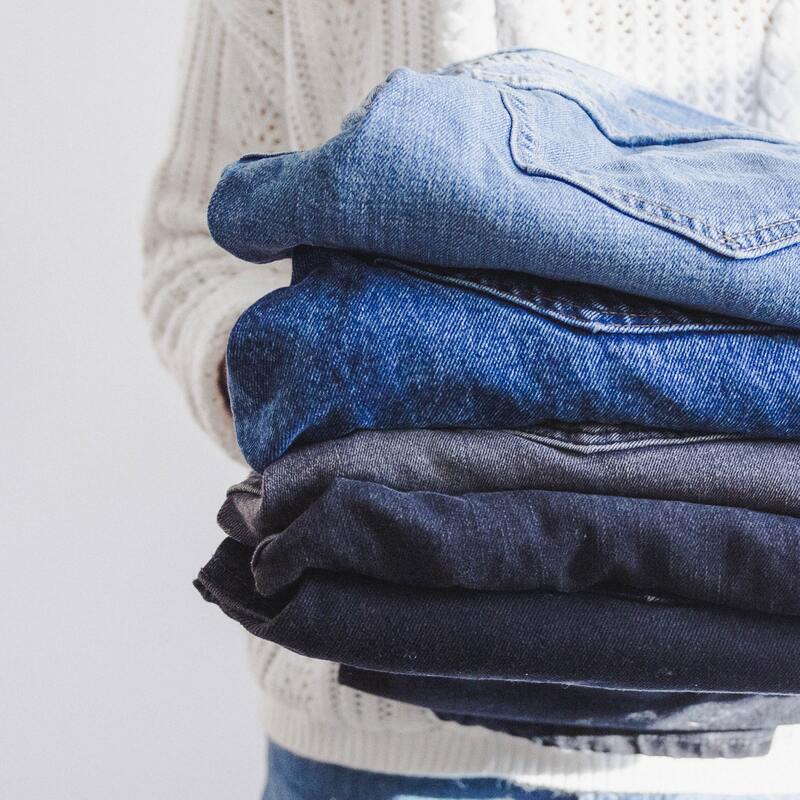
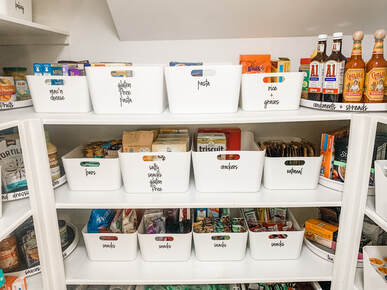
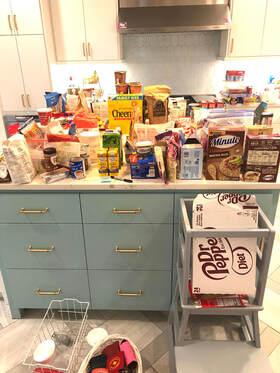
If you’re more of a “tackle it yourself” type person, here are a few of our tips for putting all those new bins to use. First, did you purchase the bins for a particular space? Or are they available for any space in your home? If they’re designated for a certain area, stack them up in (or near) that area, so they’re readily available. If they’re bins for any area of your home, place them in a central (out of the way) location… and place any other available bins you have there, too. If you have them all stacked in one place, you can easily see what you have. As you’re organizing various spaces, you will be able to visualize what bin would fit that area. Choose an area to begin organizing. What space needs it most? Which space is causing frustration and stress? Begin by purging what needs to go: Organizing the pantry? Toss expired food & spices. Organizing your closet? Purge any clothes that are torn, stained, don’t fit, or haven’t been used in a year (have a box sitting nearby so it’s easy to toss in clothes that will be donated). The idea is to eliminate the items that don’t need to be there, so you can free up space to organize what you have. The next step is a big one, but a very important one… take everything out! As you take it out, group it by like items. For example, if you’re organizing your pantry, you will make little piles all over your kitchen: put canned goods together, pasta and rice, spices, baking goods, etc. If you’re organizing your closet, you will line up all your shoes in one area, all your tops in another, dresses in another, etc. When your space is cleared, this is a great time to give it a good wipe down. This helps you begin with a fresh, clean start! Now your new bins come into play. Organizing is all about containing like items so you can always find them and they stay neatly put away. Look at all your pasta and rice…. Is there a bin that will fit all of it nicely? Perhaps you have a lot of each, and they need to go in separate bins. In your closet, is there a bin that would hold all your belts perfectly? What about a bin to keep your sweaters neatly folded and stacked? The idea is to visualize what you have in each category and use a bin that it will fit into. Sometimes it takes arranging and then rearranging before you find the perfect fit. And sometimes you find that you have way too much of one thing…. Perhaps you’re overloaded with rice…. Make a point to have rice with meals as much as possible until the amount isn’t overwhelming and the rest fits nicely in your new bin. The rows and rows of organizational products that are on sale right now can be exciting (and there are some beautiful bins)! It’s great to grab these products on sale, but it’s helpful to have a game plan first. Knowing what to do once you get them home can be overwhelming if you don’t know where you want to start. We hope these tips help, but if you still feel overwhelmed, don’t hesitate to give us a call! We can help you in person or virtually, and you will be organized before you know it. Happy Organizing!
0 Comments
The Binder System
Three ring binders are a fabulous way to organize paperwork. From finances, to birthdays, to your house paint colors and flooring brand… you can keep it all organized and easy to find by using a binder system. We love using binders that are uniform in color for a clean, organized look, and using the type with clear pockets on the outside to slide a label in so we can see what binder we’re looking for. The two binders we’re quite possibly the most thankful for are (1) The Fall Binder and (2) The Holiday Binder. It makes the Holidays much easier having the information needed in one location and easy to find. What exactly do we keep in these binders?? Read on…. The Fall Binder is a 3-ring binder with technical and sentimental information related to Halloween and Thanksgiving. It has a section listing what each child has dressed up as for Halloween each year, along with a picture. It has descriptions of how we decorated and (sometimes) decoration ideas for next year that we came across. The fall binder also has go-to information about Thanksgiving. One section is a “journal” with a paragraph or two about what we did that year: who we celebrated with, what we did, etc.. It also has cooking records: all our traditional recipes are here in one spot, along with a record of cooking our turkey (weight, time, temperature, etc) which has been a valuable reference year after year. The Holiday Binder is set up in a similar fashion. One section holds our Christmas card & picture from every year. Another section holds our Christmas cookie recipes and Christmas meal recipes. The Holiday Binder also has a “Journal” section telling who we celebrated with and what we did during the holiday celebration. The very important “Gift” section lists what we gifts we gave/the recipient and what gifts we received/the giver. It’s fun to look back and reminisce (and assures you will never give the same gift twice ). We also keep a section to add ideas for next year, whether for decorating, gifts, or things to do/see. A binder system is useful in so many ways, but it really does make the holidays easier to navigate. We know exactly where to find them, and they hold so much useful information. It takes a lot of the stress off so we can enjoy the time and not worry about the little details as much! How to set up your own? Here’s a starting point…. You can add/delete sections to make them your own.
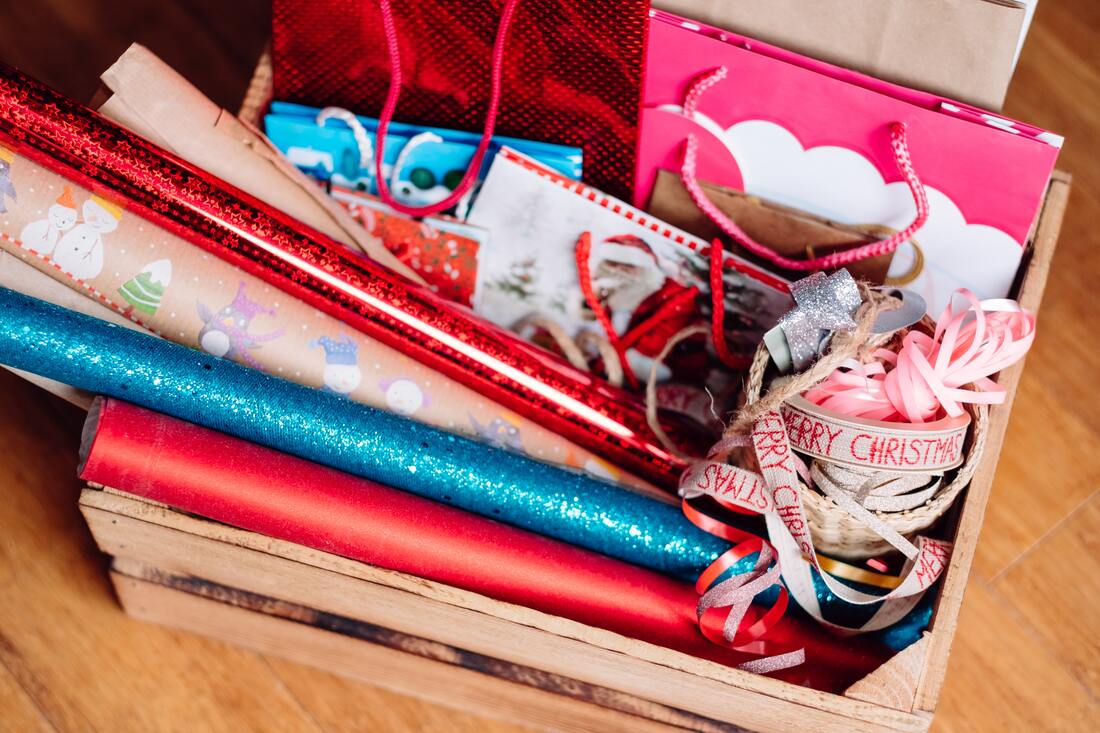
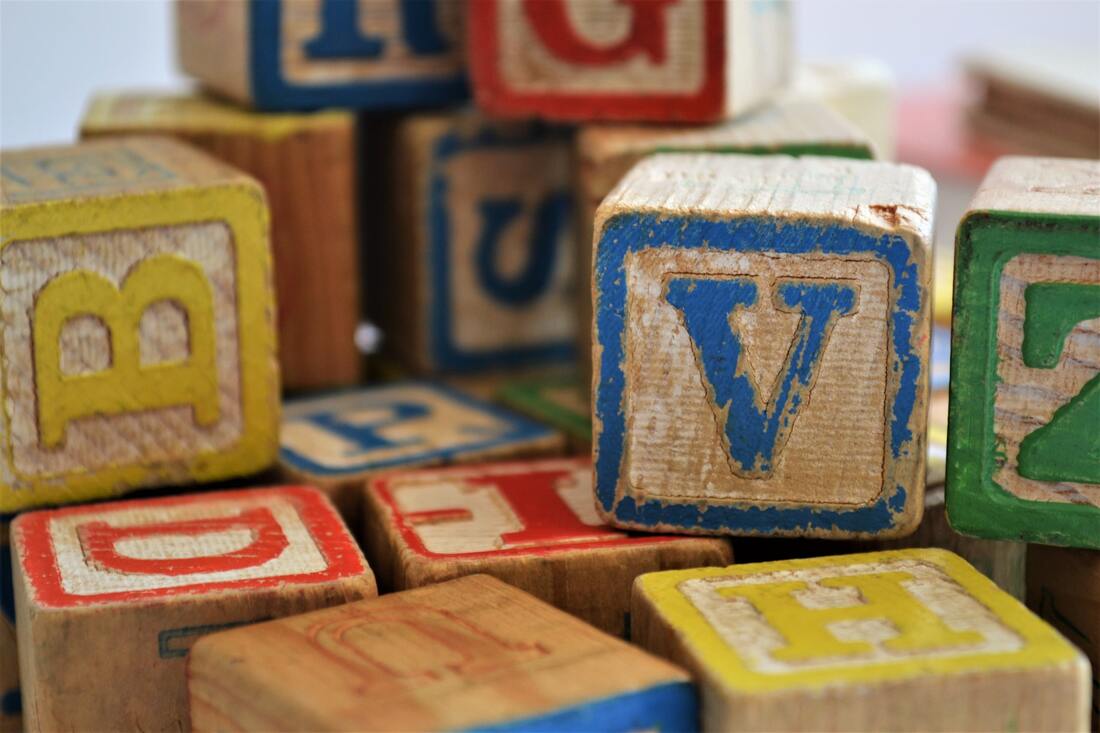
Halloween Décor Halloween Fun (which contains the costumes and journal) Halloween Entertaining (which contains recipes, entertaining details we used, and ideas for the future) Thanksgiving Décor Thanksgiving Fun (which contains our journal) Thanksgiving Entertaining (which contains recipes, entertaining details we used, and ideas for the future) Our Christmas Binder has the following sections: Christmas Cards Christmas Décor Christmas Fun (which contains our journal) Gifts (which contains gifts given/received and ideas for next year) Christmas Entertaining (which contains recipes, entertaining details we used, and ideas for the future) Happy organizing! With the holidays comes an influx of new things. Whether it’s food, clothes, toys, wrapping paper… it all must fit somewhere. Your home can easily become cluttered, stressful, and overwhelming. How do you avoid the chaos? We’ve narrowed it down to three simple steps to keep your holidays simplified! First, get rid of what you don’t need. This is a great time to critically look at what you don’t use anymore and remove it from your space. This includes clothes that don’t fit, are damaged, or you haven’t worn in a year. Take a look at the kids’ toys and eliminate any they have outgrown, haven’t played with, or are broken/missing pieces. Toss expired food and spices. Recycle old wrapping paper pieces that aren’t big enough to wrap something with. By being intentional about what you could do without, you cut clutter and make room for any holiday gifts that may come your way. Keep in mind, this is also a great time to donate to local charities. Think of how much another child might enjoy those toys that your children have outgrown, or how someone will benefit from the winter jacket you haven’t worn in years. If you think of purging as “re-homing” your items, instead of “throwing them away”, it will make it easier to part with. Second, evaluate what you have and what you need after you’ve removed unwanted/unused items. Did you toss expired herbs that you will need for Thanksgiving recipes? Do you need more ribbon for your Christmas wrapping? Add those to your list now so you are not scrambling to restock them at the last minute. This is also a great opportunity to make some notes for future gifting. Purging old toys makes room for new ones! Last, take some time to prepare for the many different items that often find their way into your home during the holidays. Whether it’s gift-wrapping supplies, food items, or new gifts/toys, it is easy to feel overwhelmed with “where is everything going to go?!?” if you don’t create “available” space ahead of time. Since you already took the time to eliminate items you are no longer keeping, you hopefully have some open spaces. The key now is to be intentional about putting items away in their “home” in a timely manner. We fully stand by the motto “A place for everything & Everything in its place”!!! By doing a quick run though of the items in your home and eliminating what you don’t need/use now, you make room for new things to come. You make it easier to find homes for those items, so your home doesn’t become cluttered or overwhelming.
So, here at Your Simplified Space, we’ve made a list of experiences to consider gifting instead. Happy Gifting and Happy Holidays! *The gift of organizing! A Gift Certificate from Your Simplified Space
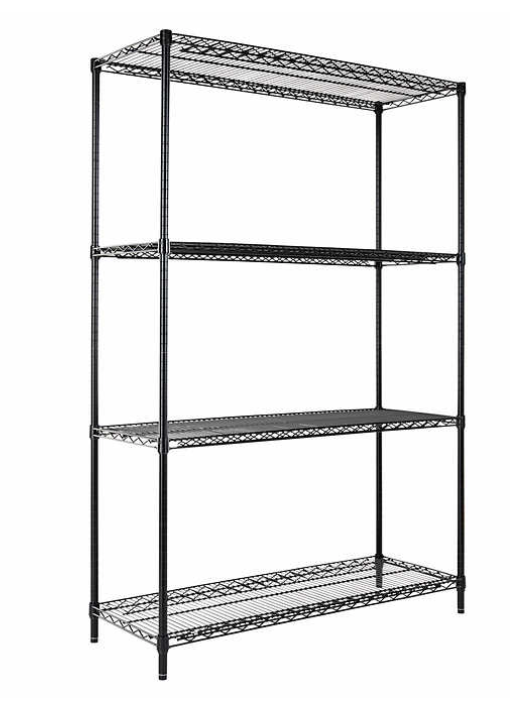
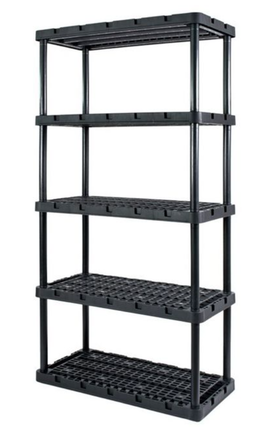
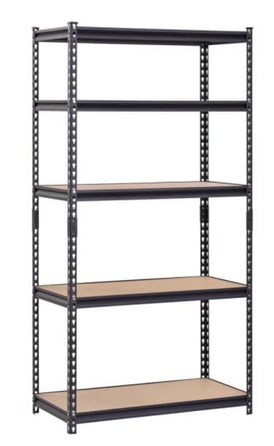
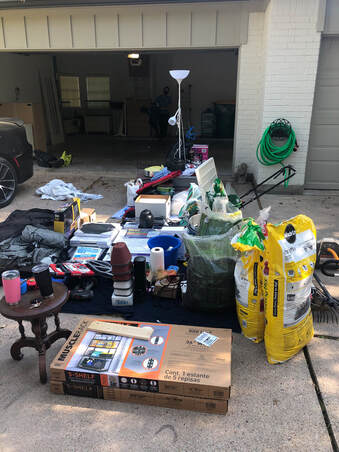
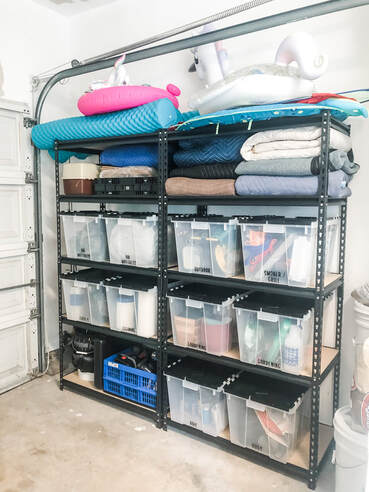
Fall is here! And with cooler temps right around the corner, we are soaking up the last little bit of summer weather outside enjoying the sunshine. Whether you’re out gardening, tinkering with tools, splashing in the pool, or participating in several sports, your garage can end up bursting at the seams with outdoor items. And, if you’re like us, it’s not long before you end up climbing over piles of things to get to other things. This can get frustrating and dangerous. Garage shelves to the rescue! Most garage shelves are on sale right now, and you can get them in many price points and many materials. You can find a few of our favorites here, here, and here. Regardless of the cost or the build, it’s how you use the shelves that is key. If you simply start piling things on them, they will soon become as cluttered as the garage floor was before. We’ve said it before, and we’ll say it again…. Labeled bins! Start by sorting all your items – it helps if you, take a few hours and spread out. Use your driveway and make piles of like items. For example; all gardening items, all tools, all pool chemicals, or all toys. Sort through each pile and get rid of anything you don’t need or don’t want anymore. Make a home for the rest of those like items in a labeled bin. If you like a neat, clean look, purchase all one style/color bins. That creates a clean, uniform look. Each bin can be home to one grouping of “like items” (keeping in mind that some groups of items may need two or three bins). By labeling the bins, you carve out space for those items, thereby creating a “home” for them. It’s when items don’t have a home that they end up shoved here and there, getting lost and creating a cluttered mess. Garage shelves not only help contain and organize items so they are kept in good condition and are easily accessible, they create a clean, uniform look in your garage. Garage shelves to the rescue!
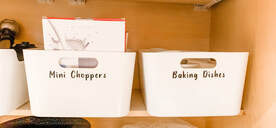
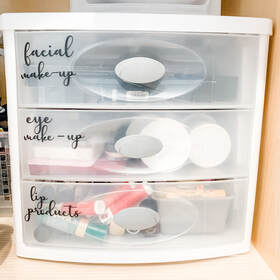
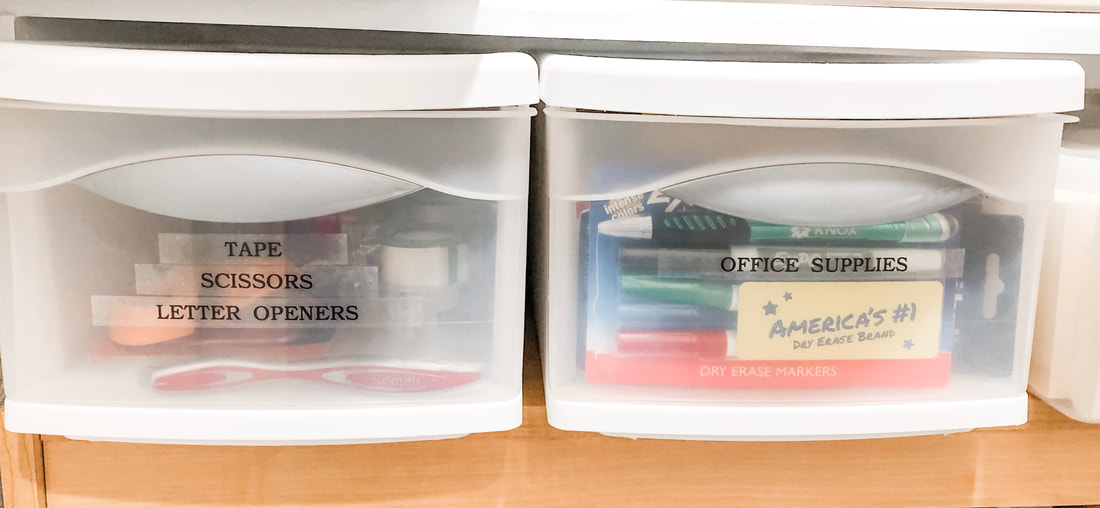
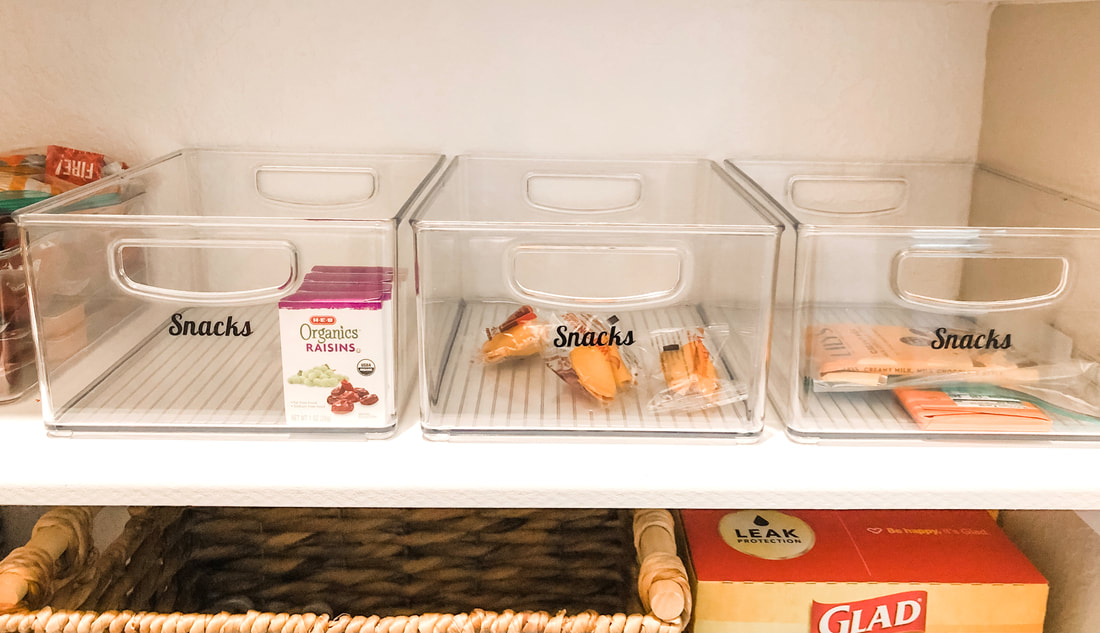
We’ve all been there….you set aside some valuable time in your busy schedule - you work hard and finally get an area of your home organized. Everything looks great and for a brief and blissful moment, you don’t feel overwhelmed by the chaos of all your “stuff”. Fast forward about 2 weeks later and your neatly organized area now looks like a disaster zone! If you are tired and frustrated with the revolving door of organization and clutter, try following these 2 (simple) tips to break the cycle and keep your space organized over time. Labels, Labels, Labels….on everything! If everything has its own special spot, things magically tend to stay in place. When making labels for most areas of your home/office, it helps to keep the label category more broad than specific. For example….in the pantry, a “snacks” label will make it easier to successfully keep items in their proper place versus making a label for a specific snack. This allows you to have some flexibility with your organization without derailing the entire system and you won’t feel so restricted when trying to put things back in their place. Labels also allow EVERYONE who uses the space to maintain the organizational system (even kids)…win-win for everyone! Don’t underestimate the power of some “wiggle” room.
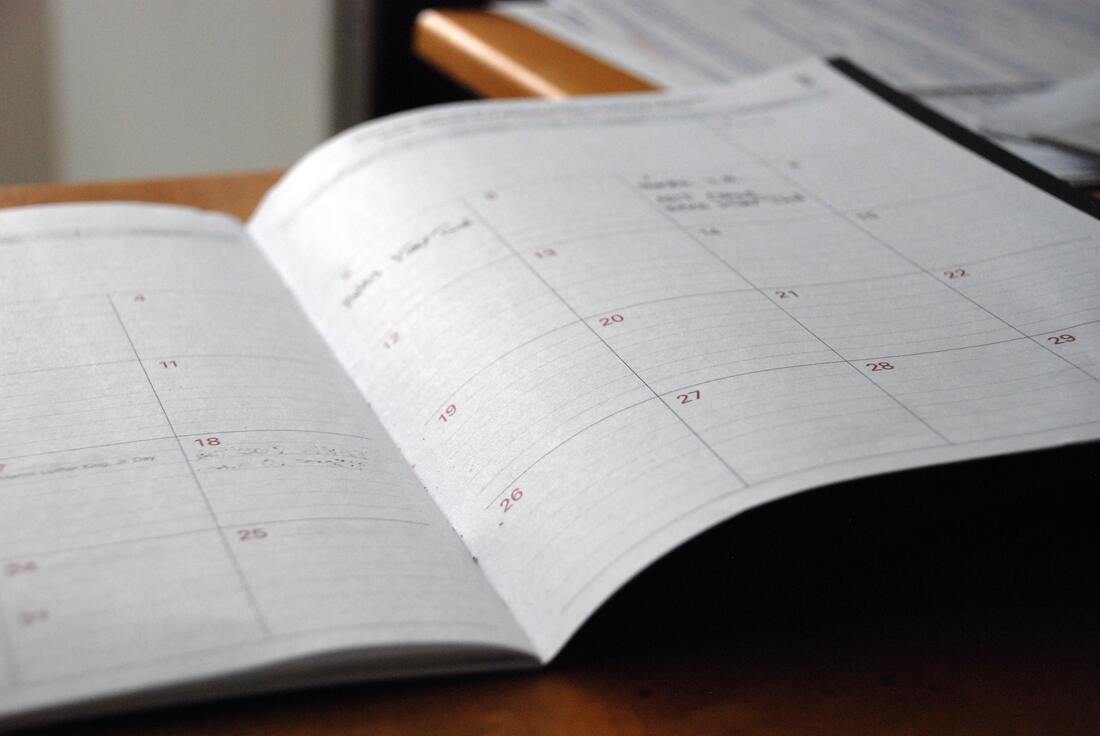
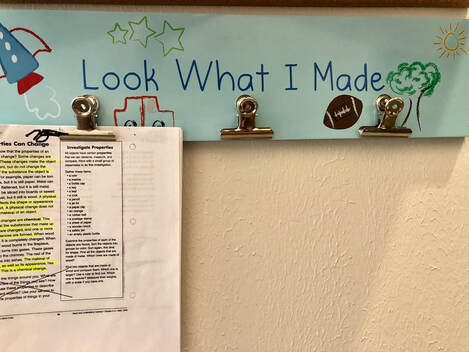
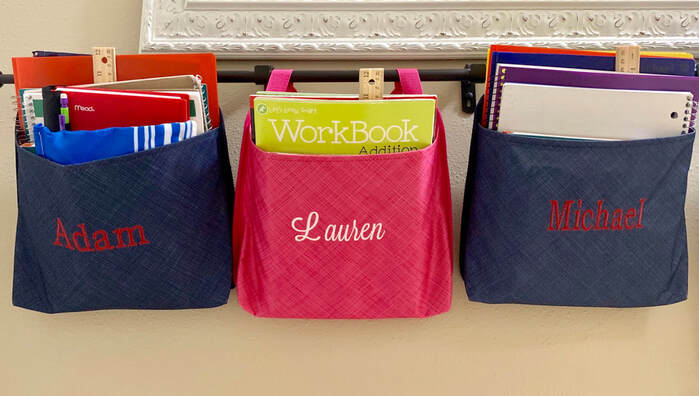
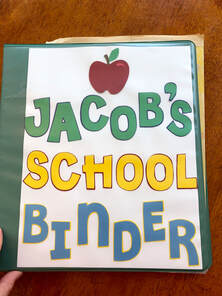
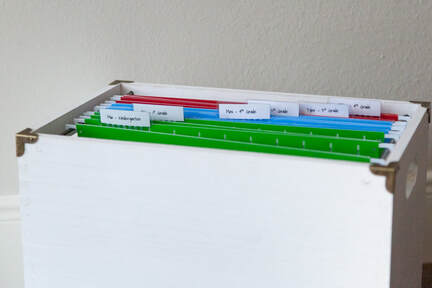
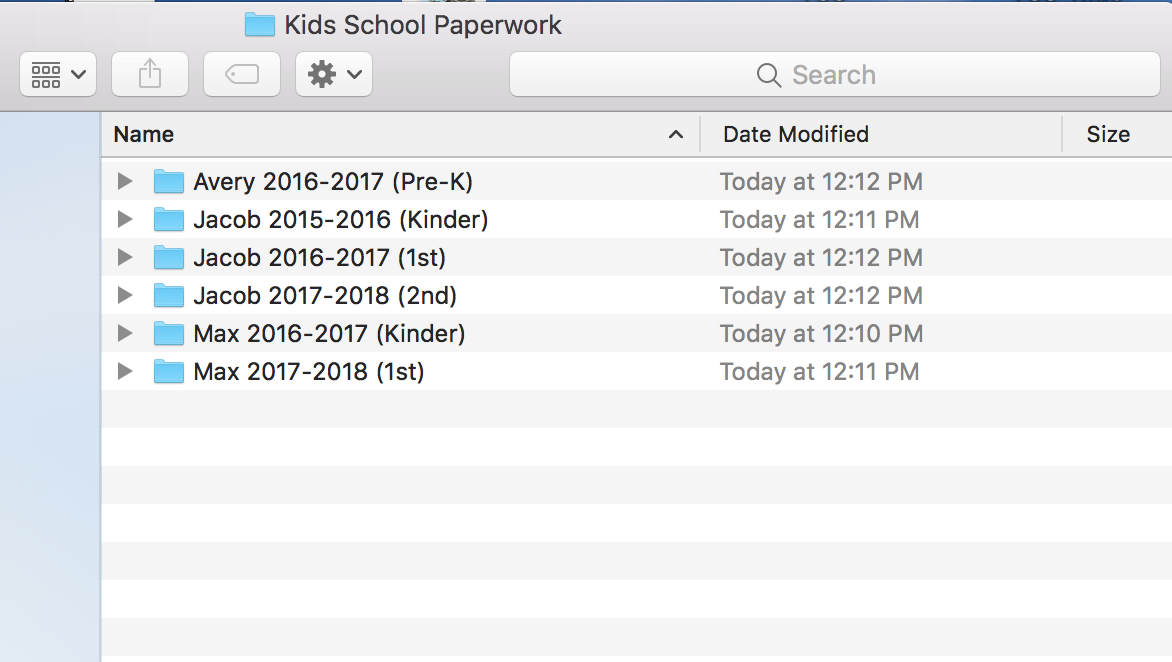
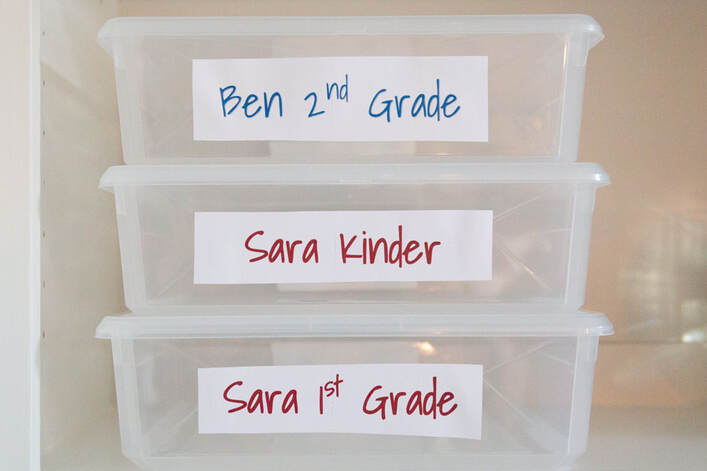
One of the biggest problems people have when trying to keep a area organized is the lack of space. We try to cram way too much stuff into an area that simply can’t accommodate it. To help you maintain an organizational system over time, it helps to try and leave about 25% of the space empty. This is especially true for areas where you tend to have fluctuation in the amount of products you have in the space (like a pantry). By leaving some “wiggle” room, you have space for incoming items without ruining your organizational system. This also helps you to visually see when it might be time to “edit” some of your items that are piling up or that you are no longer using. These are some simple tips that anyone can follow and they will significantly improve how you maintain your organization over time! Happy Organizing! Jen and Emily We are not quite sure how it happens, but in our modern world of technology and "going paperless"...the amount of papers and forms that come home with our children every school year seem to constantly multiply! The piles stack up and before we know it, the kitchen counter and table have turned into a paper mill. So much for eating dinner at the table as a family tonight! But guess what?!? We have a little secret....organizing AND managing all of those papers and forms can actually be very SIMPLE. Before you know it, you will be eating at your kitchen table once again! As busy moms with busy kids, we have developed an easy to follow system organizing and managing school papers/forms that works for us and we are confident it will work for you too! Steps for Success when organizing/managing school papers: 1. Determine what type of paperwork it is. The best piece of advice I ever received about all the many, many papers children bring home from school is to never touch it more than once! This one simple rule will help you keep your home free of the school paper clutter! When a child brings home paperwork from school, the first thing to do is to determine what "type" of paperwork it is: - Important paperwork that needs to be signed/returned - School news and/or reminders - Returned/graded school work - Artwork or other items/work that your child created 2. Sign the Important Paperwork that needs to be returned. Instead of setting this paperwork to the side to be "looked at" later, sign it the first time you read it and place it back in your child's backpack/folder to be returned to school the next day. It might take you 5 extra minutes when going through the papers, but you will no longer forget to sign those field trip slips or lose the yearbook order form! It is always a good idea to snap a quick picture of the form/paper or jot down any special dates it might contain so you have all important information on hand when you need it. 3. Make note of important school news/dates. When the school newsletters/reminders come home, enter those important dates/information into your calendar right away so nothing sneaks up on you. Whether you prefer a traditional pen/paper calendar or keep everything stored on your phone, having important dates written down will help make future planning easier. Once you have all important information recorded, recycle the news letter/reminder and free yourself of one more piece of clutter. If something has a large amount of important information, you can always take a picture and refer back to it later as needed. As the papers start to trickle in, have your child file their graded papers and special creations into their special “spot”. More than once in our lives I have had a child who desperately wanted to see the picture of the unicorn they drew 2 weeks ago or they needed to look back on a past assignment to study for a test. Problem solved! They simply went to their “spot”, found what they were looking for, and all was right with the world once again! 4. Sort for storing. Quarterly (a good rule of thumb is when report cards come out) sort through each child’s “landing spot” to determine what can now be recycled/trashed and what needs a more permanent home. We all know some things are meant to be “keepers” - that heartfelt poem written by your 10 year old and the amazing self portrait drawn by your 6 yr old - these items can now be safely stored in a more permanent place. Special papers can be stored in a variety of ways from placing them in sleeve protectors and keeping them in binders to taking digital pictures of the papers and creating your very own book on your favorite photo site. Before you know it, you now have a clean and empty “landing spot” ready for another round of school papers!!! These four simple steps, when practiced regularly, can help keep school paper clutter under control. Not only will the piles of papers be gone, but you will find that you are able to be more organized and efficient in other areas of your life as well. Have a great school year!
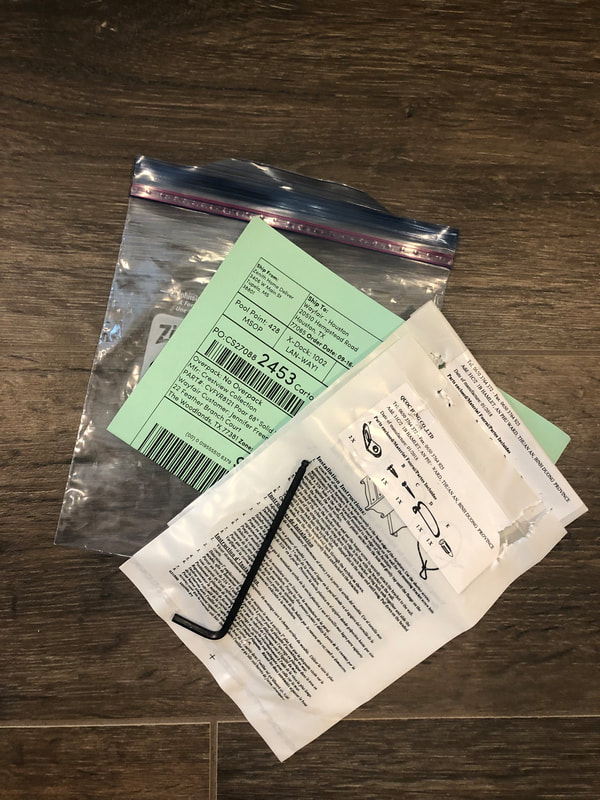
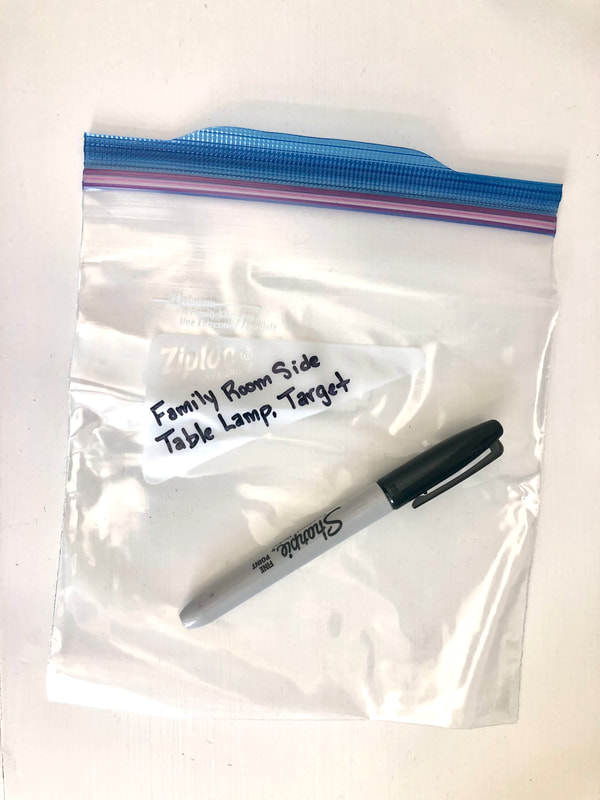
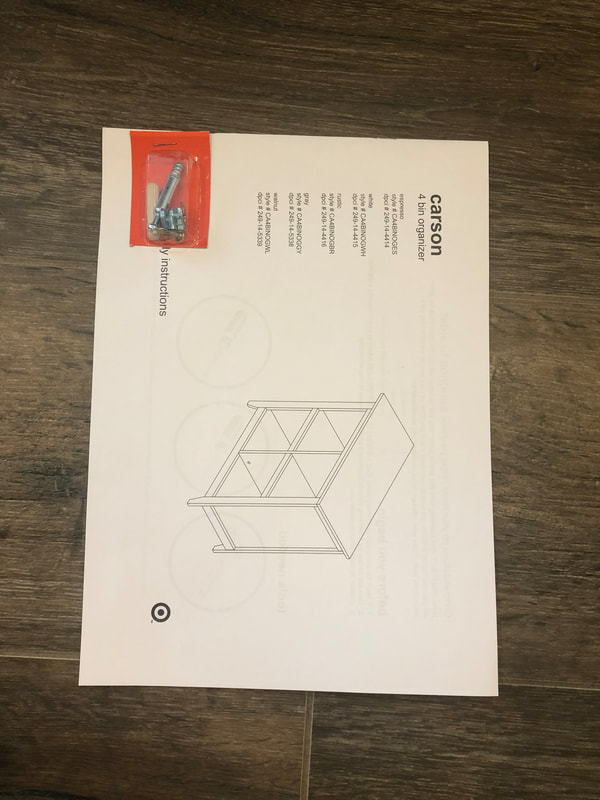
The other day, we got a new lamp (such a nice, refreshing change for our side table). WHY we got the new lamp is another story, but it involves two boys swinging a sleeping bag around and, well, now we have a new lamp. But as I was cleaning up the packaging and tools after putting the lamp together, I realized it might be worth writing a little bit about how to manage and store all the little tools and extra pieces that come with lamps, tables, chairs, electronics… pretty much anything you purchase these days! You know what I’m talking about, right? The extra screws, the plastic molly bolts, the mini allen wrenches – all the little pieces that are needed for that particular item. The first, and probably the most important thing I do (after assembling), is to look at what tools/items came with the piece of furniture and get rid of what I don’t need. Many items come with small metal screw drivers or allen wrenches. I have tools in my garage, and 99% of the time, I could use those tools to assemble (and, in fact, make it much easier to do the assembly). Obviously, always check to make sure your tools fit the screws/bolts/etc, but as long as they do, you can toss the little tool the furniture came with. If my lamp became wobbly and needed tightening, I’d go to my tool bench in the garage first, anyway, so why keep extra disposable tools? It’s one less item to keep and therefore less clutter. The other items that need to be kept for the furniture item (extra screws, bolts, patches, swatches, etc) can be put together in a ziplock bag. And here’s the key…. Label that bag! For example, my extra parts are in a sandwich size ziplock baggie, and I’ve used a sharpie to write “family room side table lamp, Target” on the outside. This way, if I have 15 baggies with parts, I know exactly which parts go to what furniture item. Lastly, I usually staple the baggie to the instruction manual or care instructions. So everything I need for that piece of furniture is all together. This little “package” is put in my bin for keeping instruction manuals (more on this in another blog!), so I can always locate it in the future, should I need it.
I hope this gives you some helpful ideas for containing all those little pieces and keeping them organized and available for those times when you need them. It’s items like this that can quickly become a cluttered mess, so it’s good to have a system in place to use so your space remains functional and clutter free. Happy Organizing! Emily & Jen We all have THE STUFF. You know, the stuff we want to keep but don’t know where to store it. Whether it’s extra home decorations you don’t want to part with but aren’t currently in use, or heirloom teacups handed down from your grandmother, it takes up valuable space in your home and finding the proper out-of-the-way place to store it becomes an issue. When evaluating storage situations for THE STUFF, a few things are important to address first: Did you pull all THE STUFF and sort by “like items”? Did you purge what you could? Have you looked in each of the rooms in your home for the “hidden storage spaces”? After you address these three questions, finding storage solutions should be fairly simple. Let’s walk through these three steps in a little more detail…. Did you pull everything out and sort by “like items”? This step is always first, no matter what you’re organizing. It helps you visualize everything you have, and helps you see your space in a new way – empty and free of all belongings. Be sure to look all around your house and pull out anything else that fits THE STUFF category. Stuff you’re not using, that’s taking up space and doesn’t have a home. If you have THE STUFF shoved here and shoved there, you need to pull it all out before doing anything else. This step is important in order to truly see what you have and how much storage space you will need. Sometimes, it’s not until you do this step, that you see just how much you actually have. And seeing how much you actually have is crucial to step number two. Did you purge what you could? Often times, when we pull things out from the back of the closet or under the bed, we didn’t know we still had it! Or maybe we didn’t realize we had 12 of those! That’s why pulling everything out, and sorting by “like items” is so essential – you can see that you have 6 bags of white tissue paper, or 3 day planners. It helps when deciding what to purge, as well as where its “home” will be. Be critical when it comes to what to keep. The space in your home is valuable, and plays a big part in how you feel when you’re at home. If you don’t need it, donate it or toss it. If you have too many of one item, pass the extras along to a friend or family member. Deciding to get rid of extra items frees up space and makes you feel more in control of your surroundings. Have you looked in each of the rooms in your home for the “hidden storage spaces”? By now you have all of THE STUFF sorted in piles of like-items. You’ve purged excess or things you don’t need/want. Now you’re ready to find a home for it all. But there’s one last step before you put it all away. Walk around your home, trying to look at your storage options in a new way. Do you have space in the top of a closet – perhaps a top shelf that’s hard to reach? If you can only access it with a ladder or step stool, you aren’t going to want to put anything there that you want access to frequently. Therefore, it’s a great home for THE STUFF. That same solution might be perfect in your laundry room, too. Do you have tall cabinets that are difficult to reach, especially above the washer/dryer? That would make a great home for THE STUFF. Look around your home, taking inventory of your hard to reach/out of the way spaces that would not be good storage for everyday needs, but might be great for THE STUFF. Other overlooked areas are under the bed, in the guest closet, in the attic, the top shelf of a laundry closet, or a crawl space. When you’ve looked through your house, come back and look at your piles again. Visualize how much space you will need for each pile, and which areas might make the most sense to store certain piles. For example, those super tall candle sticks might only fit on the top shelf in the hall closet. Extra picture frames might be able to stack nicely on a top shelf in the laundry room. Perhaps the safest and cleanest space for extra throw pillows is in some dust bags under the guest room bed (too bulky for cabinets or closets, and they need to be protected from dust and dirt). Try to find homes for the entirety of each pile. You don’t want to separate like-items… then you won’t be able to find them readily.
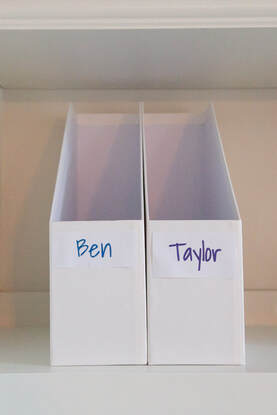
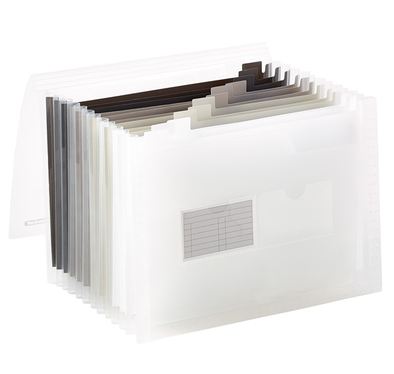
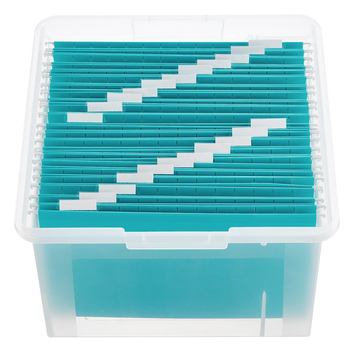
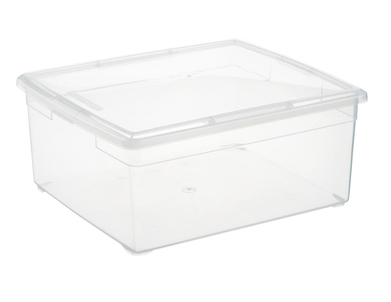
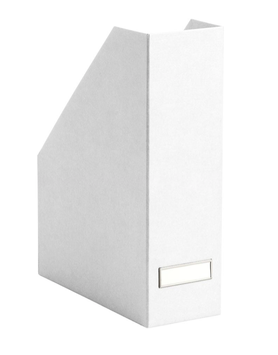
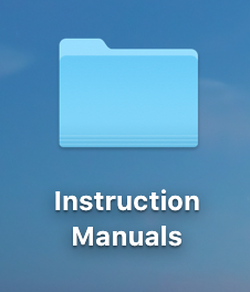
Keep in mind that organizing is a bit like playing tetras…. It requires moving things around, putting them in different spaces, until you find the best fit. It’s all about how to use your space most efficiently. Happy Organizing! Is anyone else overrun with instruction manuals? From toys to appliances to furniture to dishes…. Everything comes with an instruction/care manual. Which is a good thing, obviously. It’s important to know how to care for a new purchase, and it’s always good to have the manual on hand when an issue arises. But what do you do with it all in the meantime? All that paperwork takes up space and can quickly become a jumbled mess, creating clutter and impeding progress when you actually need to find a manual. We have a few suggestions for streamlining your instruction manual collection. Think about how often your manuals are needed, and how much space you have – you may decide a hybrid of one of these suggestions will suit you best. Here are our top 5 ways to keep all those manuals under control: Accordion File – Do you have only a small stack of manuals? If they will fit easily in a divided accordion file, this is a great way to keep them contained and organized in a small space. An accordion file fits easily on a bookshelf, in a closet, or somewhere else out of the way, while still allowing you to easily access its contents. We like how little space it takes up. Hanging File Folders – Hanging file folders are inexpensive and easy to use. You could designate several folders in your current file drawer for instruction manuals, or (better yet) use an individual file folder box for all manuals. These file boxes look like Tupperware bins, but are designed to hold file folders. This allows you to label the bin with “Instruction Manuals” and place the bin in an out-of-the-way space. Bins – Speaking of bins…. If you aren’t sold on the suggestions above, a regular bin will work just fine. Just make sure it’s big enough for regular 8.5” x 11” paper and comes with a lid, and that will be sufficient. Bins are inexpensive, easy to carry, and stackable. They can be labeled on the outside and placed in the attic or the back of a closet so they’re out of the way. For something that isn’t needed very often, this is a great option for keeping the manuals in good condition and in one location so they’re easy to find when needed. Magazine Holders – If you have space on an office shelf, you can store manuals in magazine holders. Magazine holders come in lots of beautiful materials and colors, so it can add to your office ambiance and décor. The manuals are easily accessible, if needed, but out of the way of every day items. Digital – Last, but not least, you can create a digital folder on your computer or stored on a hard drive with all your instruction manuals. Instructions can either be scanned in and kept as a pdf, or (for bigger items) you can find them online and download them as a pdf from there (or bookmark for future use). Then the paper versions can be recycled and all manuals are accessible on your computer. If you do this, be sure to scan in your registration card for the item since this card has information pertaining to your individual item (like serial and model number). You may need these numbers in the future for troubleshooting issues or for possible recalls. We hope this helps you sort through the mountains of manuals you may have laying around. Think though your needs and what you have, and decide which system (or hybrid of systems) works best for you. Happy Organizing!
|
